Saturday, 6 April 2019

Doodle Stamp Keyring for Bee Crafty

Hello!

Today on the Buzzy Goings on at Bee Crafty blog I am sharing how I made a key ring using the new doodle stamps...
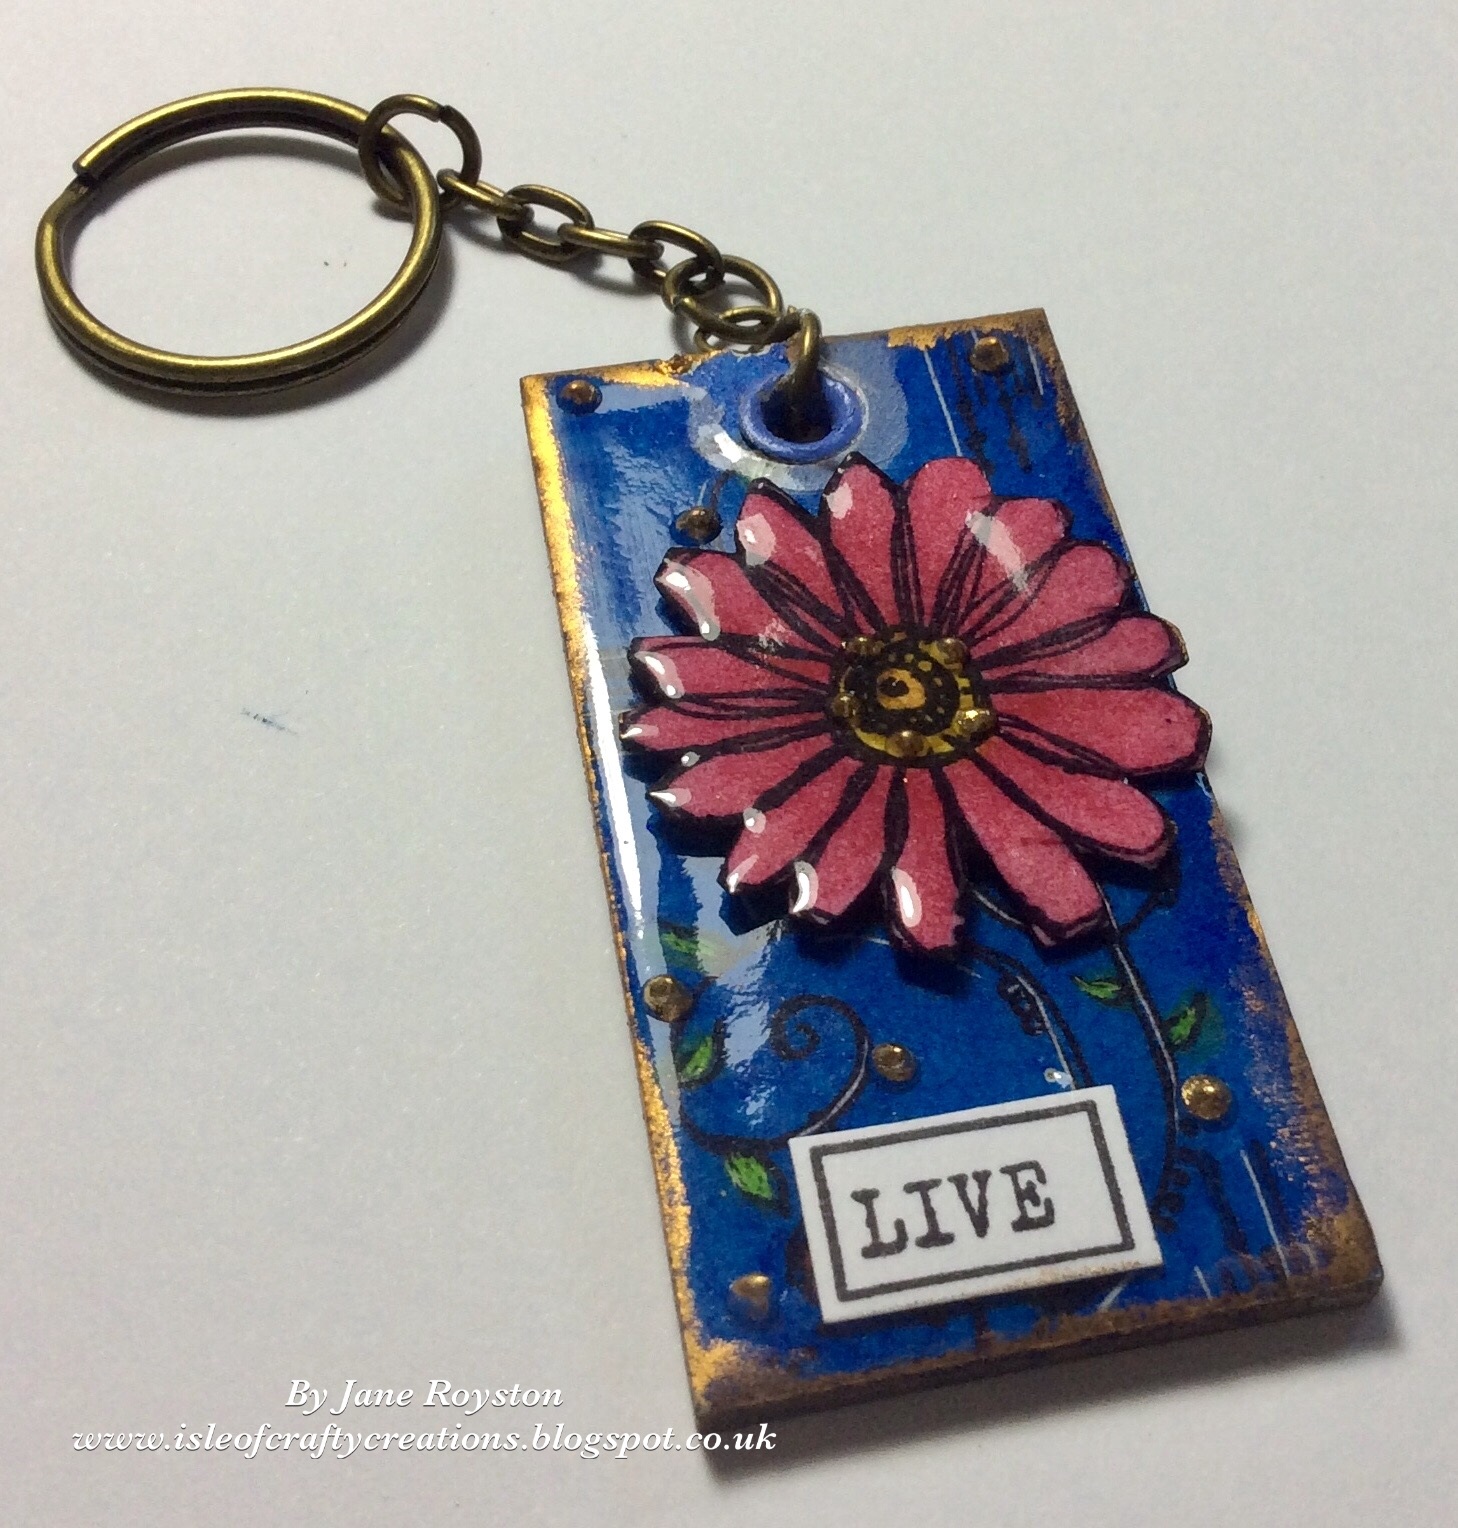

I love trying new products and mediums and a few years ago I bought some stampbord and inks as I wanted to try them out.  After using them a few times they ended up in my crafty cupboard forgotten about until recently when I noticed them and decided to have another go!
Stampbord is a piece of board that has fine layers of clay on top which means you can use etching tools to scrape back areas to create different layers of colour.

My starting point was a domino sized piece of stampbord...


For my first layer I applied blue ink using a piece of foam...


Next I stamped the vine and the lines from the Bird #1 set using black archival ink...


Then I used my etching tools to take some of the colour out of parts of the design and also to add white doodles...


Using a small paintbrush I coloured some of the white areas using some of the other inks...


Next I stamped one of the flowers from the Bird #1 set, coloured it and added glossy accents...

 
Because the stampbord can still be scratched into I added glossy accents across the whole piece to protect the surface, then put in a hole and eyelet for the key ring. I also added some dots of Pebeo relief and once clear and tacky added gold foil leaf over the top of them.  Gold gilding wax was used around the edges to create a more framed look.
 
Finally I attached the flower and added a word from the Ticker Tape Sentiments set...


To create this project I used:
 
 
Thank you for looking and happy crafting!
 
Jane xx


Friday, 5 April 2019

Floral With Love for Craftascope

Hello!

I thought I would share a card today that I have made using some of the new floral stamp sets from Nick and Craftascope...


I have to admit that I love floral stamps a lot, so I wanted to feature them on this card.

To start I used Broken China and Crushed Olive distress ink with an ink duster brush to add colour to a piece of stamping card.  To add some extra texture I flicked some water across the card then after a few seconds blotted it with some kitchen roll...


Next I used one of the background stamps from 'Bloom and Grow' to add extra details using the same distress inks...


For my main focal image I wanted to have a frame so used the wreath stamp from 'Bloom and Grow', I stamped using sepia Versafine then added clear embossing powder over the top.  I also added the bow from the same set and coloured them using a brown Pitt Pen from Faber-Castell...


To create the main images I used a flower and leaf stamp from 'Bloom and Grow' and a sentiment from 'Positive Journey'.  I used the same ink and powder as the frame then coloured them using watercolours...


Once I had stuck these pieces to the card I was not totally happy with the spaces so added some extra flowers and another layer to the bow as well as an enamel dot...


To see any of the Craftascope products used you can view and purchase at Nick's ETSY shop: https://www.etsy.com/uk/shop/Craftascope?ref=search_shop_redirect
 
There are also more projects to view on the rest of the design teams blogs:
 
Nick - Barnsley Crafter
Katrina - Katrina's Crafting Blog
Natalie - Tilly-Anne
Bryan - Geezer Crafter
Cheryl - Chez101CraftyWaftyDoodah

Thank you for looking and happy crafting!

Jane xx

Saturday, 30 March 2019

Doodle Art Stamp Samples for Bee Crafty

Hello!

Today on the Buzzy Goings on at Bee Crafty blog I am sharing the samples that I made for this weeks HOCHANDA shows...


Thank you for looking and happy crafting!

Jane xx

Saturday, 23 March 2019

Grunge 'v' Glitter and Gloss (Altered Tin) for Bee Crafty

Hello!

Today I am on the Buzzy Goings on at Bee Crafty blog with an altered tin project.

I love to alter different objects and it is even better if that object can then also be useful as well as fun to create.  My children have been decorating tin cans for a while to store different things in so I decided to get in on the act and use a tin to hold my watercolour brushes.

The styles that I like to use in my crafting are very varied and I love both the grungy look as well as very colourful and pretty so I decided to combine both within this project...


I started by making sure my tin was really well cleaned and I used one that required a tin opener rather than a ring pull as it seems to leave a safer edge.  Once clean I painted it with 3 layers of white gesso, drying between each...


To add texture I used my palette knife to put on some crackle paste and allowed it to dry overnight...


I wanted some background stamping but as this was a curved and uneven surface I used archival ink with the numbers stamp and stamped onto tissue before applying it to the tin using matte medium...


Next I added colour by applying watered down acrylic paint in washes.  I used silver, light and dark blue and quinacridone gold...


To try to highlight the crackles I added black antiquing cream from Decoart which you apply, let dry then rub off the areas you don't want.  As this does not ever truly set I added a layer of matt varnish afterwards.  It didn't work as well as I had hoped so I decided to add some gilding wax as well...


To add some stencilling I used the metal alpha d'inkable with some black modelling paste.  Once this had dried I added a lighter gold gilding wax over the top to bring out the details...


At this point the tin had become much darker than I had wanted so I decided to add some more stencilling, this time using the chevrons d'inkable with white gesso.  I also then dry brushed some of the white across the tin...


To completely contrast with the grungy tin I wanted to add some very pretty focal images.  The large rose stamp from Beautanicals was stamped 3 times in full then the head another 3 times.  Once cut out I coloured them with shades of yellow and orange and coated them with glossy accents, sprinkling in a little bit of fine glitter whilst still wet.  Once dry they were layered up and adhered to the tin using glue gel...


Here are the products that I used:

* Backdrop Stamps - Random Numbers
* Beautanicals Large - Rose
* D'Inkables - Metal Alpha; Chevrons

Which do you prefer grungy or pretty?  Or maybe you are like me and love both!

Thank you for looking and happy crafting,

Jane xx

Friday, 22 March 2019

'Handy Helpers' For Craftascope Design Team

Hello!

Well today is very exciting as my crafty friend Nick is over on the HOCHANDA craft channel with his second collection of stamps and stencils and this time also a die set!

I was very honoured to have been asked to help make some samples for his first collection and now I am proud to say I am an official member of his Craftascope Design Team :)
I am joined on the team by some very talented crafters and I will link their blogs at the end of this post.

One of my favourite stamp sets that Nick has created is the 'Handy Helpers' set, so I thought I would share the samples that I made with it here today...


This stamp set is excellent quality and I have used them with ink, embossing powder and also stamping into triple thick molten powder.  You may also have spotted some of the new stencils in the background of one or two samples. 

All of the products can be found over on the HOCHANDA website and Nick will be demonstrating how to use them in his shows at 10am and 3pm.

To see what the rest of the design team have been up to you can check out and follow their blogs from these links...

Nick - Barnsley Crafter
Katrina - Katrina's Crafting Blog
Natalie - Tilly-Anne
Bryan - Geezer Crafter
Cheryl - Chez101CraftyWaftyDoodah
Nicola is also on the team but does not have a blog however you can find her work on Facebook.

Thanks for looking and happy crafting!

Jane xx

Saturday, 16 March 2019

'Everything is Possible...' Art Journal Spread for Bee Crafty

Hello!

Today on the Buzzy Goings on at Bee Crafty blog I am sharing a step by step photo tutorial of how I created an art journal spread using some of the beautiful stamps that are part of this week's Wednesday Wow! and the gorgeous Rosie stamp...


* I started out on the first double page of a new 6" square art journal and painted on a strip of colour using 2 different shades of pink acrylic paint.  Before this had a chance to dry too much I used the sunset d'inkable to wipe some of the paint away...


* Next I wanted to add another bright colour so used orange through the stars d'inkable...


* I wanted to add a contrasting colour to the orange so chose turquoise paint and although I tried really hard to choose a different stencil I was drawn back to the gorgeous circles d'inkable...


* To tone down the blue I added some buff coloured paint and white paint pen to the circles...


* For the stamping I wanted to echo the circle shapes so chose two of the stamps from the Texture, Film Strip and Circles set.  I used the edge of the grungy stamp with teal archival ink and one of the circles with black archival ink...


* At this point I felt I needed some more white elements so added some splatters using watered down white paint.  Then I stamped the film strip twice onto tissue paper and cut them out, they were then applied to the page using matte medium...


* Finally I created my focal points using Rosie from the Fashionettes (these stamps can be found at a reduced price in the discontinued stamps section!) and the words from Boy, Girl, Work in the Wordage stamps...


To create this spread I used the following products:

* D'Inkables - Sunset, Stars, Circles
* Art Stamps - Texture, Film Strip and Circles Set
* Wordage - Boy, Girl, Work
* Fashionettes - Rosie
* Archival Inkpads

The Wednesday Wow! will continue through until midnight on Sunday (17th March) and they have a fantastic discount on them!  Also do check out the discontinued stamps section where there are great bargains to be had.

Thank you for looking and happy crafting!

Jane xx

Saturday, 9 March 2019

Marvellous Wildflowers for Bee Crafty

Hello!
 
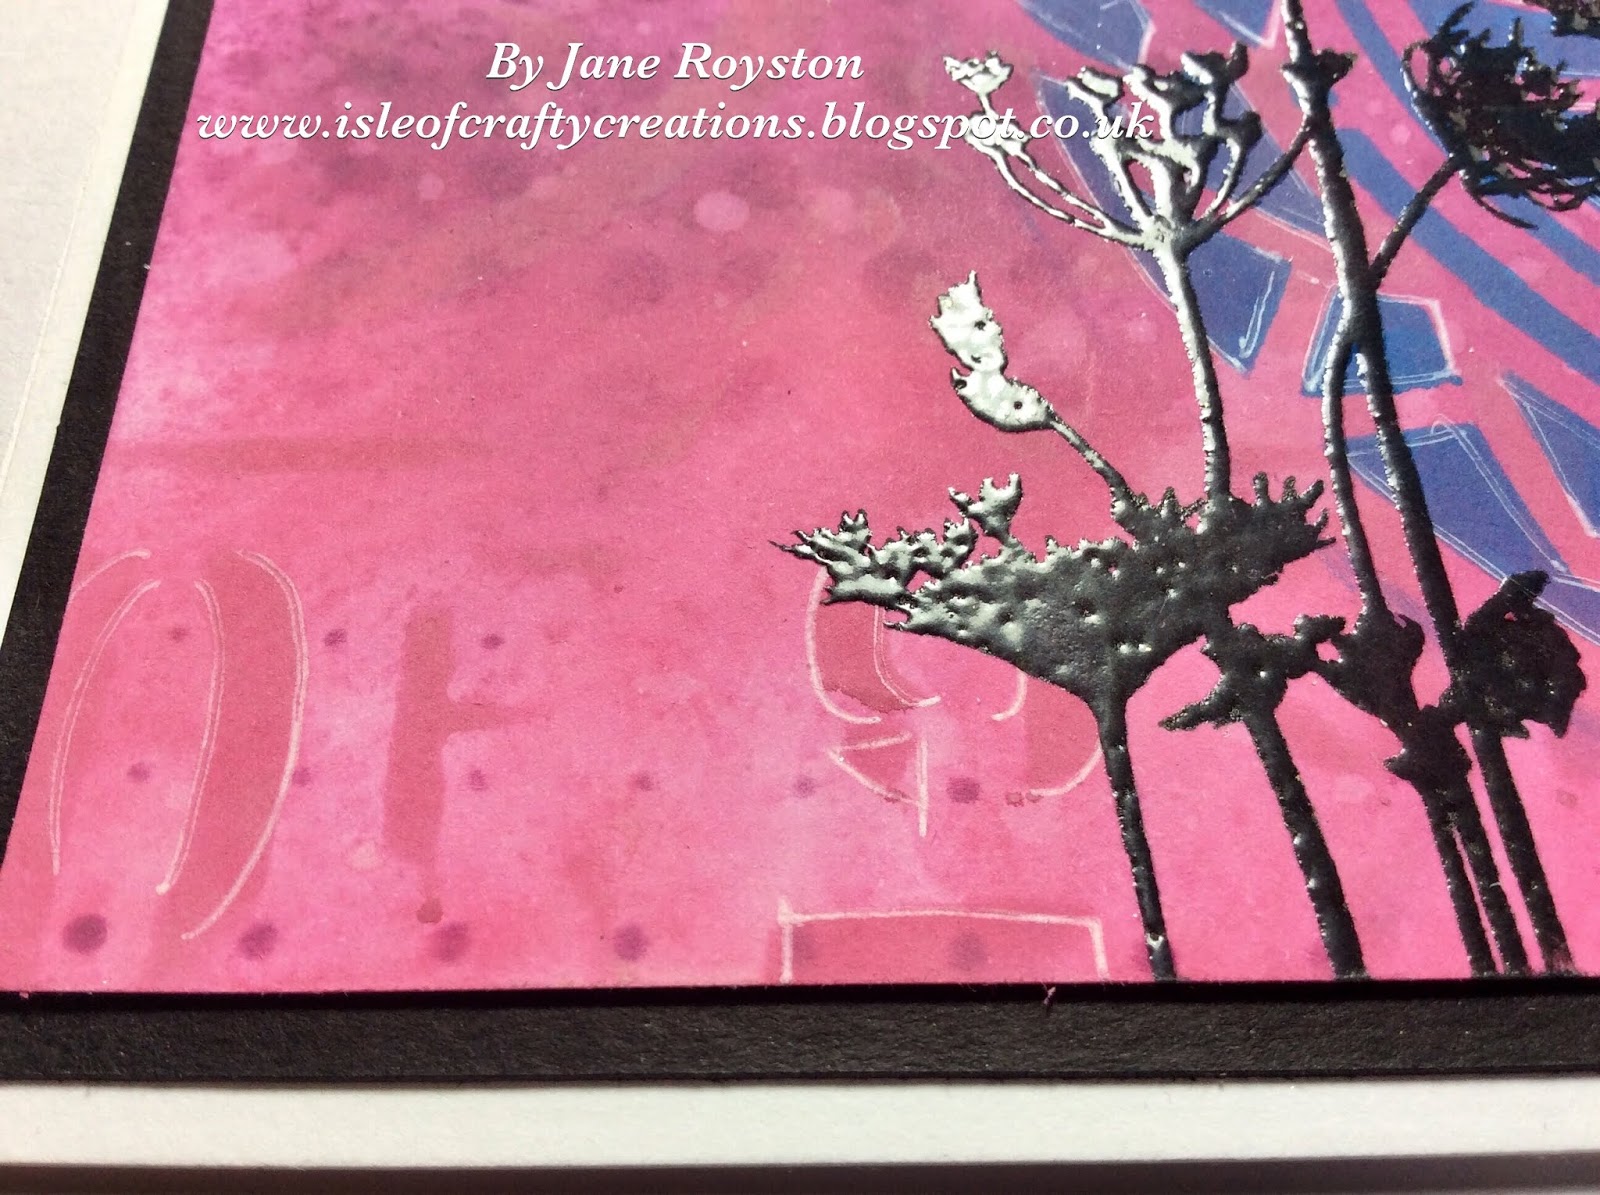
I am sharing a card today on the Buzzy Goings on at Bee Crafty blog that was made using distress oxide inks and a range of Inkables...
 

* I started with a piece of white card approximately 5 and a half inches square and chose 3 colours of inkpads...


* Using sponges I applied the colours in strips across the card.  It was then spritzed with water all over to activate the chalky effect.  Once dry I splashed some more droplets of water and blotted it off with some kitchen roll...


* I chose 3 Inkables that are different styles (perspective, metal alpha and mandala 5) that I felt would layer together well and applied the ink colours through each one at a time, making sure to dry the ink between each layer...


* Once this was done I felt that the stencilling needed to stand out more from the background so used a white signo pen to add some lines and dots...


* I wanted to add a focal point that would really contrast to the background so as it is a silhouette chose the Wildflower 2 stamp and used it with Versafine black ink and clear embossing powder...


* Finally I chose a sentiment and stamped and embossed it in the same way as the flowers before putting the card together...


Here are the products that I used:

* Inkables - Perspective; Metal Alpha; Mandala 5
* Beautanicals - Wildflower 2
* Wordage - Everyday Sentiments 1 XL
* Distress Oxide Inkpads

Inkables are currently part of the Wednesday Wow with 25% off until tomorrow night (10/3/19) so a great time to stock up!

Thank you for looking and happy crafting!

Jane xx