Saturday 31 July 2021

'Just 2 Colours' Card

  Hello!

This week I decided to use just two colours to create a card...

I chose brown and teal as it is a combination that I love!

1) I started by using the Salvaged Patina and Vintage Photo distress inks, blending them with a brush over a piece of watercolour cardstock. 

2) Then water was sprinkled over and lifted with kitchen roll to create a more distressed look.

3) Using the Metal Alpha inkable and the Vintage Photo distress ink, I added some light pattern to the background.

4) At this point I cut my card down to the size I wanted and cut the waste strips into pieces.

5) Extra Vintage Photo was swiped around all the pieces and then glued down to the card.

6) The sentiment from Small Words was added to another strip and glued to the bottom of the card.

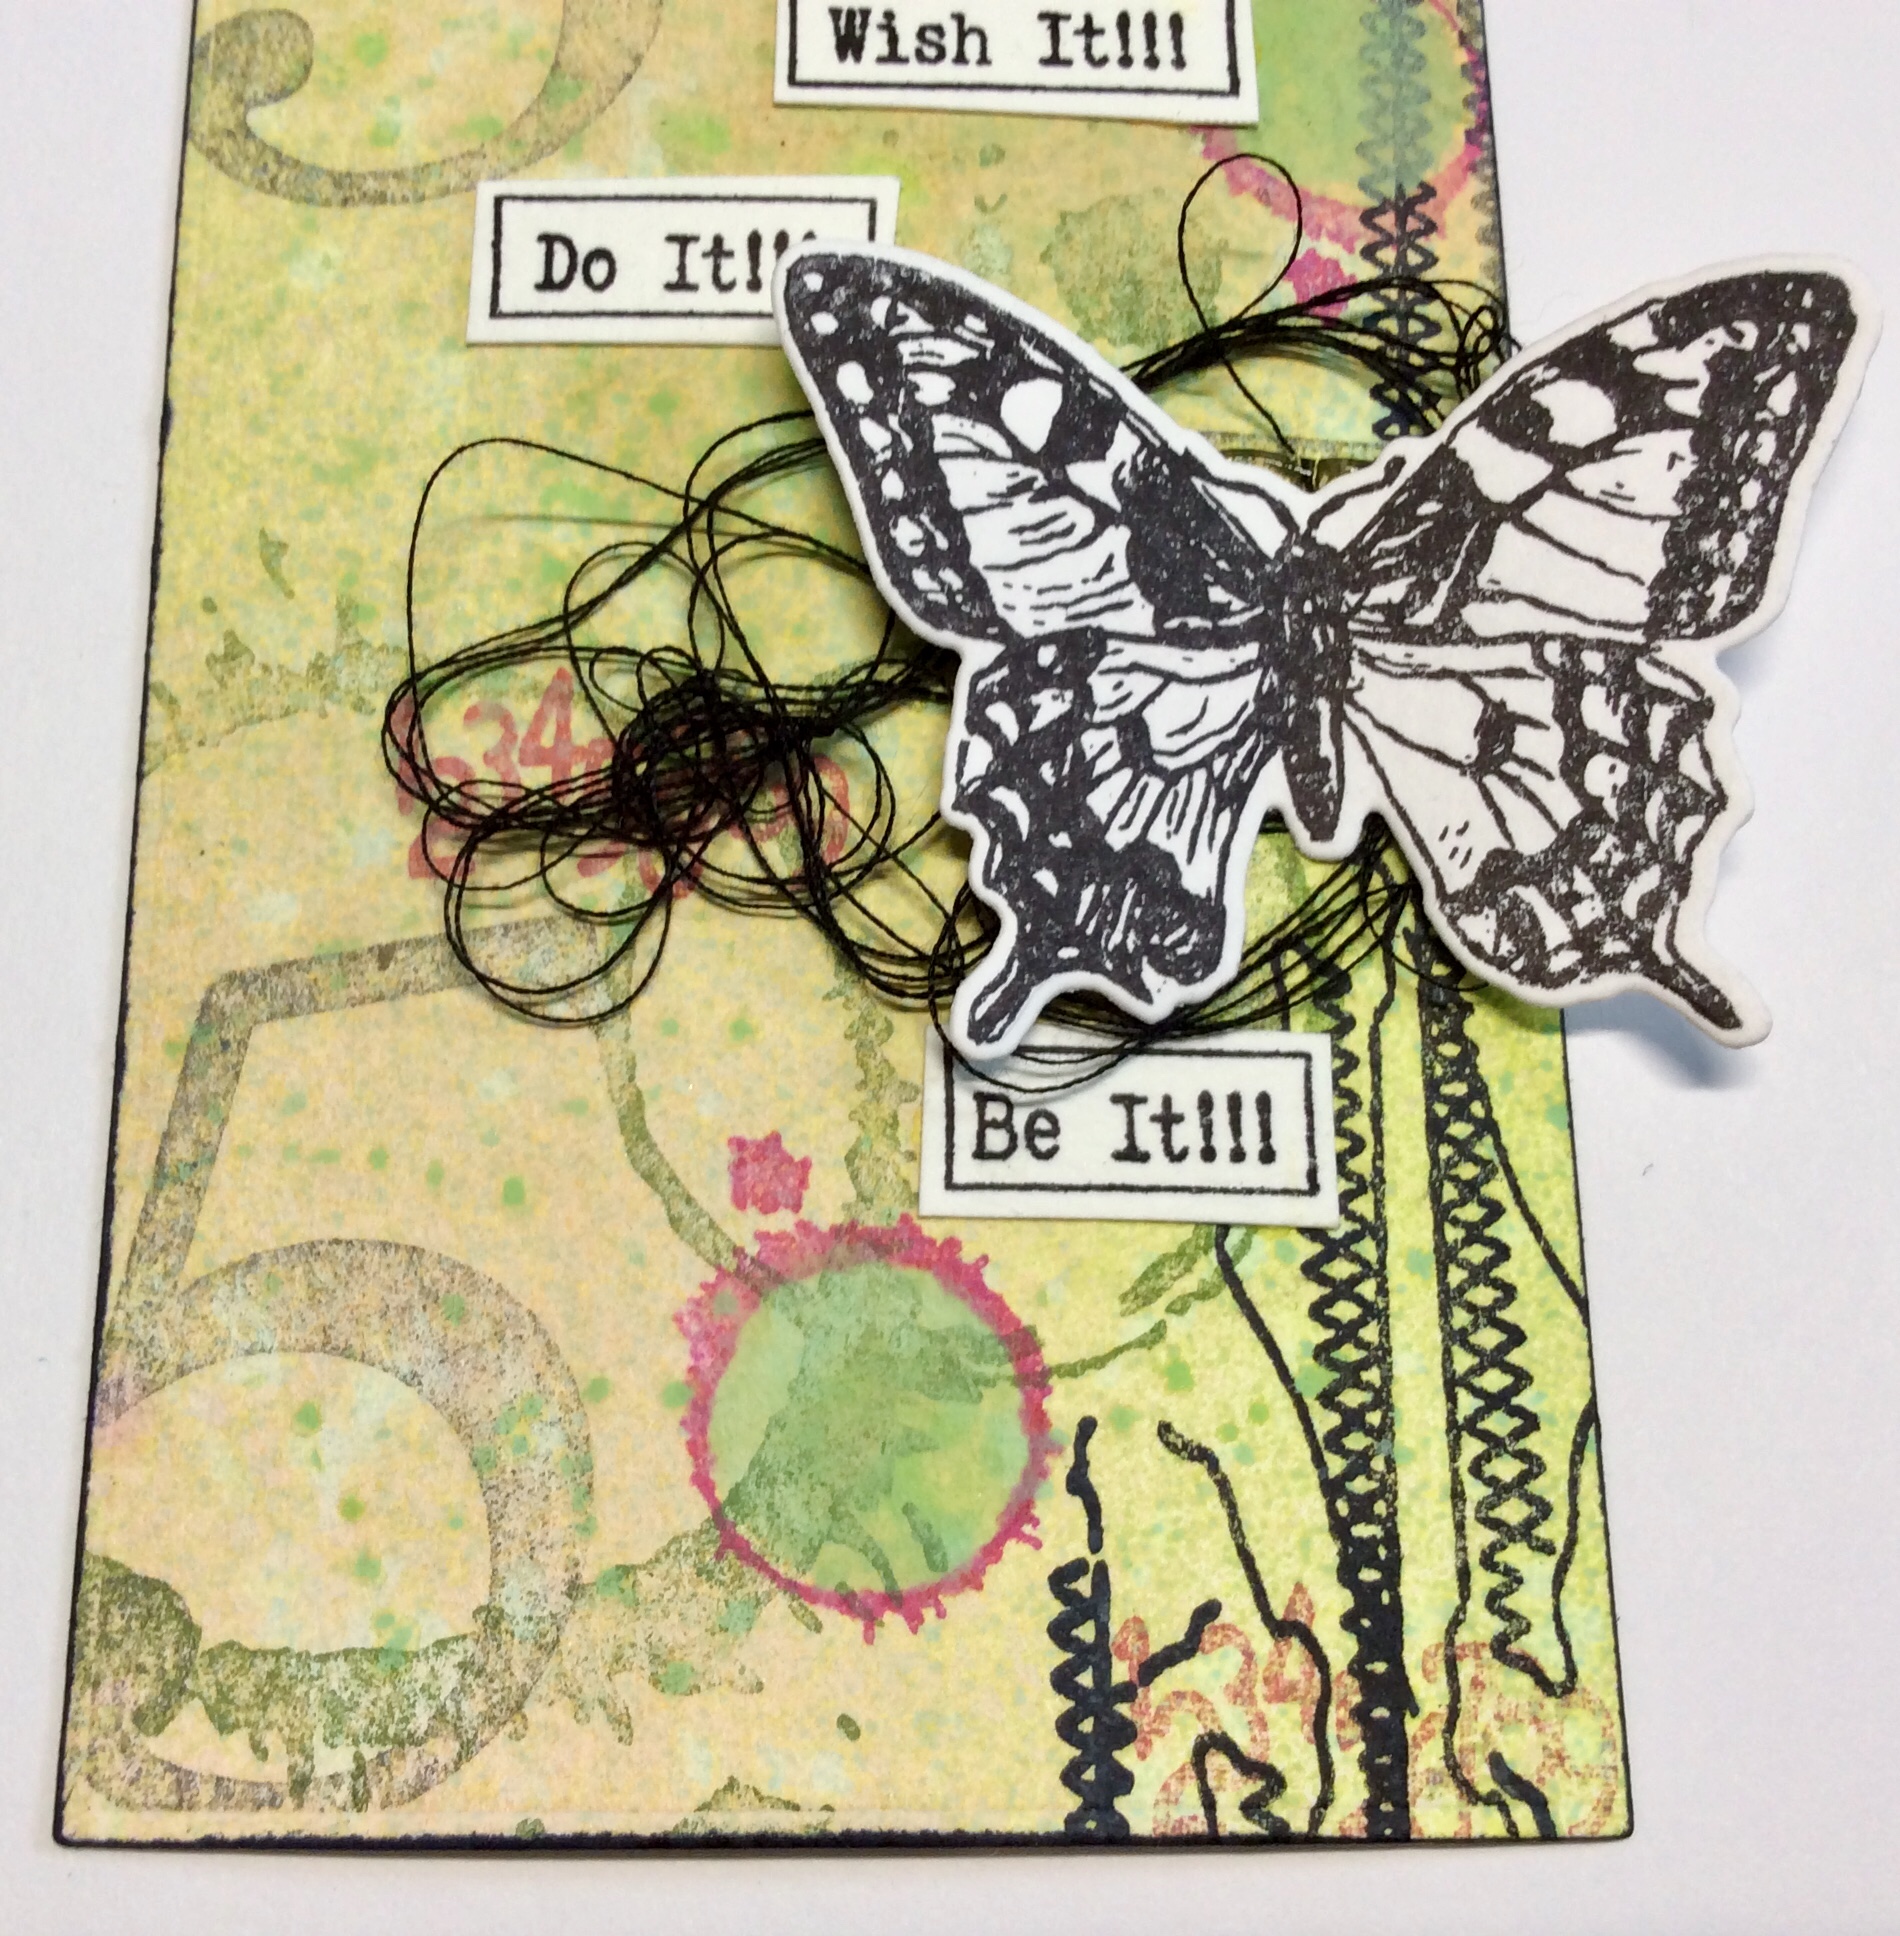
7) I stamped and die cut a butterfly from the XL Birds and Butterflies set and added a small amount of Salvaged Patina using a brush.  This was then added to the card with a piece of white cotton underneath.


Here are links to the products used:

Distress Inkpads

XL Butterflies & Birds stamps and dies 

Small Words stamp set

Metal Alpha Inkable

Thank you for looking and happy crafting!

Jane xx


Saturday 24 July 2021

'Hello You' Arrows Card

  Hello!

This week for my blog post project I wanted to try to create a card where I kept some white space!  This can be quite challenging for me but hopefully you will think I succeeded...

1) I recently bought two of the newer Dylusions shimmer paint colours and really wanted to use the Polished Jade.  So I used my brayer to apply some of the paint then added some Lime shimmer paint as well...


2) To create a background I stamped a selection from the Journaling Girls Arrows set with black archival ink...


3) I wanted to add some pops of colour and decided to go with red, using the scarlet Ecoline pen, then some green to enhance the question mark circles.  To really make the designs pop I used white gelly roll pen to add extra details...


4) To finish off the card I just wanted to add a sentiment and some extra hearts.  I used some words from Everyday sentiments 1 and the heart from Journaling Girl Sam...


5) These were then added to the card with some foam to raise them slightly, I felt that only three hearts were needed so will use the others in another project.  The whole card was then matted onto black and then the card blank...


Here are links to the products used:


I think this background would be good fun to recreate in an art journal, so I think I may try it with a different colour combination!

Thanks for looking and happy crafting!
Jane xx


Saturday 17 July 2021

Floating Jellyfish Card

  Hello!

This week I have created a card which incorporates some acetate to create floating jellyfish...


1) I started by creating a sea like background on watercolour cardstock using some of the Pretty Gets Gritty amazing sprays...


2) Next I added some explosion powder to texture paste and put it through one of the big inkables...


3) To create a bit of sea foam I added some splatters with gloss spray...


4) For extra interest I used the bubbles from the Jellyfish stamp set and coloured them in with white pen...


5) For the focal points I wanted to add some jellyfish but without losing any of the details and to give a bit of a floating effect.  I decided to stamp them onto a piece of heat resistant acetate and embossed them using black powder.  To add colour I painted some shimmer paint onto the back of the acetate and then added white pen to the front for extra details...


6) To attach the acetate to the background I used a brad in each corner, then mounted this with foam onto a piece of black cardstock.  Then I stamped out a sentiment onto black card and heat embossed in white before mounting all the pieces onto a card blank...


Here are links to the products I used:

Art Stamps - Jellyfish  Half price in end of line
Pretty Gets Gritty Amazing Sprays - Coastal Waters, Emerald Haze, Deep Ocean

Thank you for looking and happy crafting!
Jane xx

Saturday 10 July 2021

Tag Art

  Hello!

This week when I sat down to create a project for today's blog post I was really stuck as to what to make, so I decided to follow Bev's advice and went for a tag!...


As I was just going with the flow I didn't take any step by step photos but it was a fairly simple process.

1) I started by randomly choosing 2 distress oxide sprays,  I picked out twisted citron and spun sugar.  I made sure to dry between the layers so that I didn't get too much mixing.

2) Next I picked out 3 of my favourite stamp sets (stitch borders, numbers and coffee stains) and used archival inks to apply them to the tag.  I also added a bit of the twisted citron spray into the small circles using a brush.


3) Then I chose a sentiment to add and also a focal point from the butterflies collection with some thread under to lift it from the background.


This was fairly simple but I really enjoyed just choosing stamps I love and using them without over thinking.

Here are links to the products used:


Thank you for looking and happy crafting!
Jane xx


Saturday 3 July 2021

Collage Journal Girls

  Hello!

On Thursday I did a Facebook live where I used the journaling girls along with the Dylusions collage paper to create some mix and match paper dolls, you can watch the live on replay by clicking on this link...

https://www.facebook.com/BeeCraftyStamps/videos/764385847562923

Once they were created I needed them to have their own journal page, so I created a page in the black Dina Wakley Media journal...


* I started by painting some Dina Wakley acrylic onto the page, adding water to help blend it out.  I used Ocean, Turquoise and Lime.

* Then I used the cloud d'inkable from the most recent set with white gesso...


* Next I doodled a border around the page with a black posca pen, and added some splatters using the same pen, before sticking the 3 paper dolls in place.

* After adding some shadows under the girls with a black scribble stick I chose one of the Bigger Back Chat stickers for the page, plus added my own ending to the sentiment!

* A final touch of white gel pen on some of the elements and the page was finished.


Here are links to the products used:


Thank you for looking and happy crafting!
Jane xx