Saturday 30 December 2017

Funky Flowers Art Journaling for Bee Crafty

Hello!

I hope you had a fantastic Christmas however you may have celebrated and we have now almost made it to the start of a brand new year.

For my blog post today on Buzzy Goings on at Bee Crafty I thought I would do a bit more art journaling using lots of layers with Bee Crafty products. 
For these pages I had a clear idea of what I wanted to create which was some funky looking flowers, but as I didn't have any stamps to do this I decided to use the style wire circles to help me...


I started by preparing both the pages of my journal with white gesso, then used my brayer to apply layers of acrylic paint (yellow, teal and magenta) making sure each layer dried before adding the next.  I then dry brushed on some more white gesso to tone the colours together...


The next layer to be added was background stamping.  I used archival inks as these are ideal over the acrylic paint and used colours that matched in with the background.  I used the bubble wrap positive, distress diamonds and script XL until I was happy, they were not mounted onto a block as I wanted a patchy and distressed type of look.

After these had been given a quick dry with my heat tool I added the next layer which was stencilling.  I used the same paint colours from my background and stencilled on some blue using the metalwork alpha inkable and yellow with the regular dots d'inkable.  Then I used the circles d'inkable with white gesso in a diagonal pattern across the pages...


Once I was sure the gesso was dry I coloured some of the circles in using gelatos and then added white and black pen doodling...


At this point I felt that I needed a bit more black in the background as a contrast so used black archival ink with the retro dash and dots backdrops stamp.

To create my focal points I stamped all three sizes of the style wire circles onto white card using black archival ink and then cut them out.  To make them look like flower centres I used yellow and orange gelatos to colour them and then added some stencilling using the circles d'inkable again (one of my favourites!) and permanent marker pen...


Once I had placed and stuck them down I used a permanent black marker to draw in the stems and petals around each flower.  More doodling was then added with black and white pens before adding a few splatters with my white paint pen...


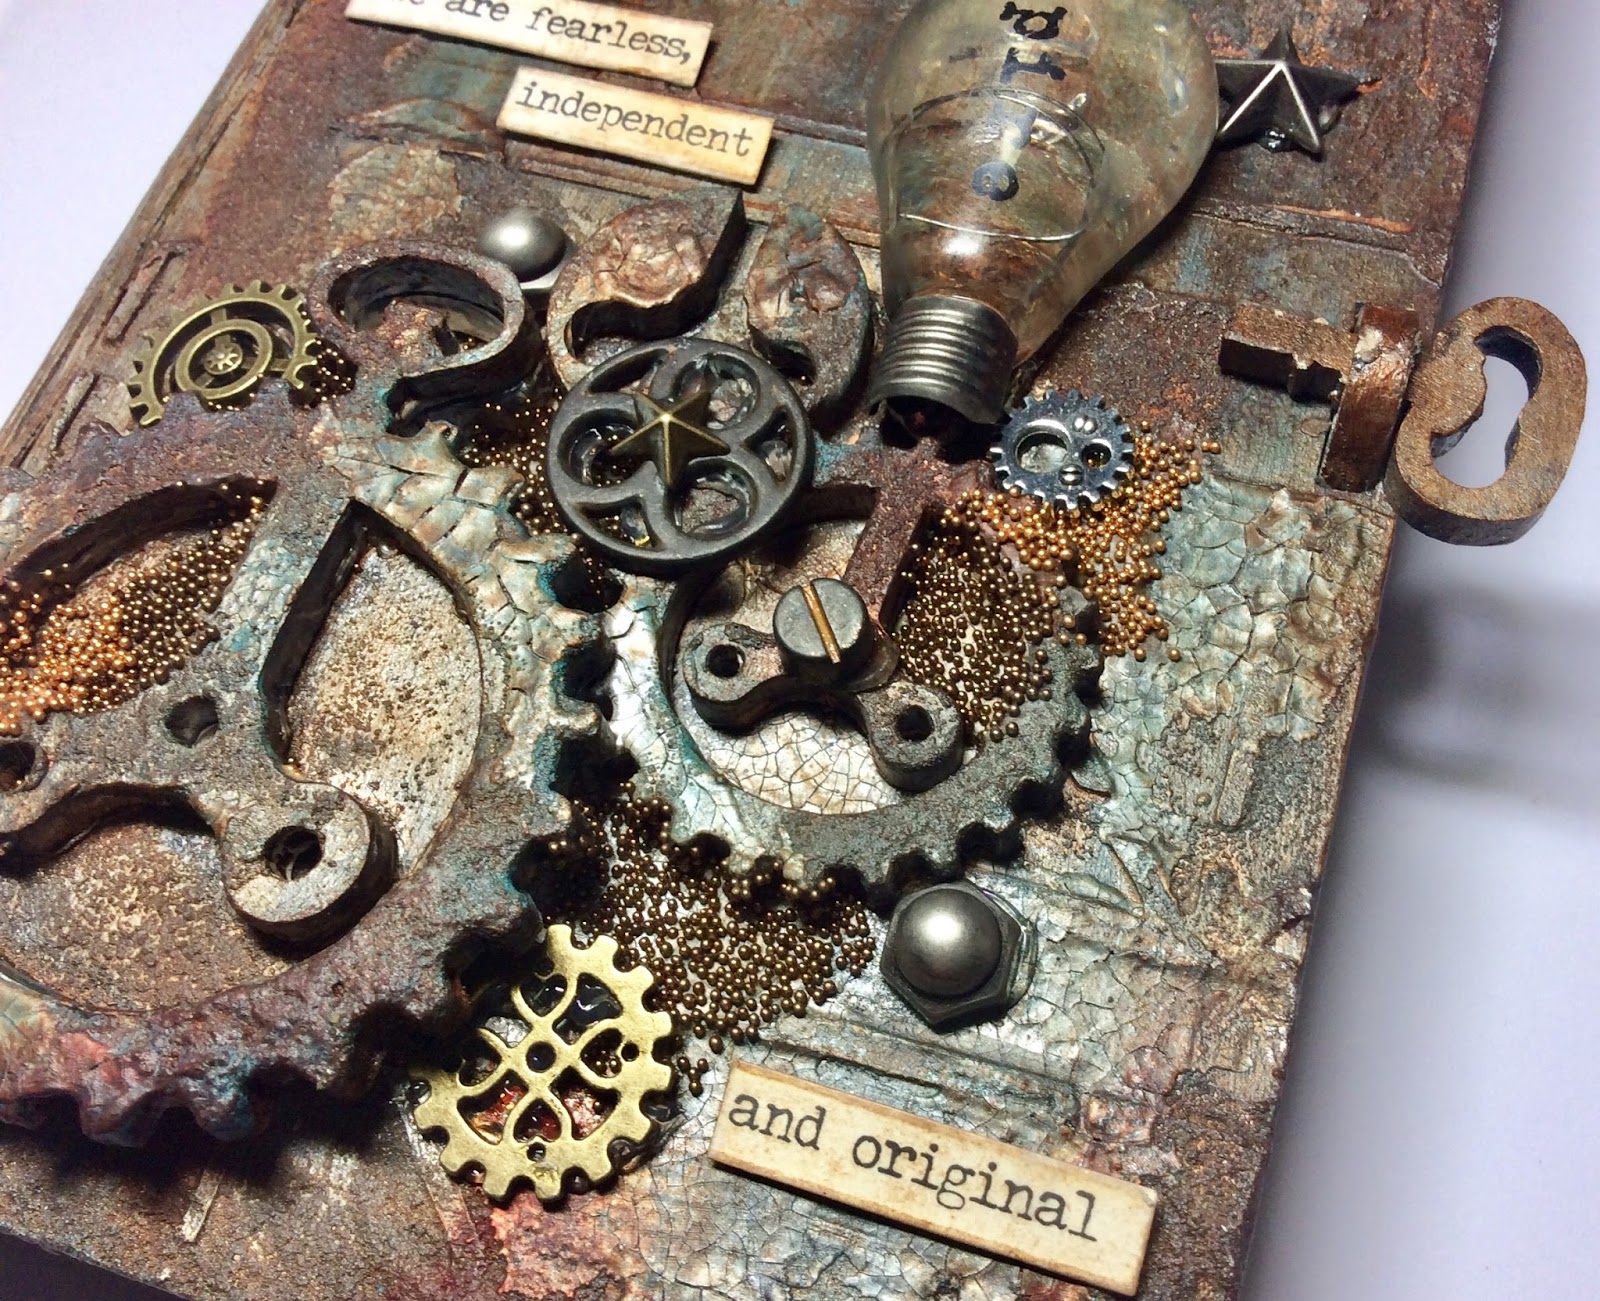
Finally I chose a sentiment that I thought would be good as a saying for 2018, I stamped it out then chose the parts I wanted to use and coloured them before sticking them down and adding some shadowing around the edges.

If you would like to see any of the products that I used here are the links...

* Style Wire Circle - Large
* Style Wire Circles - Small and Medium
* Distress Diamonds
* Script XL
* Retro Dash and Dots
* Bubble Wrap - Positive
* D'Inkables - Regular Dots
* D'Inkables - Circles
* Inkables - Metalwork Alpha

Thank you for taking the time to look at my post today, and I wish you all a very happy new year!

Jane xx


Saturday 23 December 2017

Something Seasonal for Bee Crafty

Hello!

For my last post before Christmas on the Buzzy Goings at Bee Crafty Blog, I thought that I should definitely create something for the season. 
A few weeks back I created some ATC's using some of the Beautanicals and butterflies, so I decided to continue my set with two more on a similar theme but with a wintry look.  This time I also took photos of the different stages. 

This is how they looked once completed...


I used two greyboard ATC's for this project and after coating them with white gesso used my mini gelli plate and brayer to apply 3 layers of different tones of blue paint.  I put the paint on my mat first then used the brayer to add it lightly to the gelli plate, I was aiming for a patchy look and printed each colour one at a time starting with the lightest...


Next I used the circle d'inkable by placing it onto the gelli plate, brayering one of the darker shades of blue over the top then removing the stencil and placing the ATC onto the plate to pull off a print...


After that was dry (a quick blast with a heat tool was enough) I used the regular dots d'inkable in the same way, but this time with white gesso...


To create the next layer I wanted to add some stamping.  As I had already used acrylic paint I needed a permanent ink so I used a blue staz on ink pad with one of the snowflake stamps...


To create a really contrasting silhouette I then stamped one of the wildflowers using a Versamark ink pad and then used sparkly white embossing powder (I made sure to use an anti static bag first to stop any specks of powder sticking elsewhere)...


I wanted to create another layer with some more dimension and texture, so used the snowflake d'inkable with some blue sparkle paste in a couple of areas on each ATC...


For a finishing feature I coloured a piece of card with one of the paints used in the background and then stamped one of the butterflies in Versamark then covered with white sparkly embossing powder.  This was then cut out and cut in half so that it could be on both of the ATCs...


The very final touch was to use the same technique with the sentiments, I also added some dark blue ink to the edges to create a frame for the words...


These are the links to the products that I used...

* D'inkable - Circles
* D'inkable - Regular Dots
* D'inkable - Snowflakes
* Beautanicals - Wildflower 2
* Art Stamps - Birds and Butterflies Set 1
* Yuletide - Snowflakes (Spikey)
* Yuletide - Everyday Christmas 1

I hope you all have a peaceful Christmas and are able to enjoy it whatever you are doing.

Jane xx

Wednesday 20 December 2017

Christmas Birdhouse Tutorial for Tando Creative

Hello!

Today I am here to let you know that I have created a tutorial for the Tando Creative Christmas Birdhouse that is coming soon to the kit tutorial section of the Tando Creative blog.

Here is the completed project and a link to the kit can be found HERE...


Happy crafting,

Jane xx

Saturday 16 December 2017

Swift Wings Art Journal Page for Bee Crafty

Hello!

I am back again today on the Buzzy Goings on at Bee Crafty Blog with something a little bit different to usual!

For the last couple of years I have been meaning to get into art journaling, and this has meant that I have had in my crafty cupboard a number of journals ready to use.  Although I have done a few pages I haven't really gotten into the flow of using them, so this week I decided to meet two needs in one, getting my large A4 journal started and creating a post for you!!
Here is what I created...


Unless I am creating specific samples with a certain stamp etc. I tend to start all my other projects by deciding which mediums I want to play with rather than an actual idea of the outcome.  So for this I decided that the distress crayons that have been sat in my stash for some time really deserved to have their day!
 
I started by preparing my page with some white gesso to help with the blending of the crayons, but I applied it with a palette knife to create texture and also leave some areas uncovered.  Then for extra texture I added crackle paste to areas, again using a palette knife and I kept it quite thin for finer crackles...


Next I chose colours from the brightest set of distress crayons (set 1) to add colour across the double page spread.  I applied them one at a time, using the pink, blue and yellow, then creating blends of colour.  Once this had been applied I used the circle stencil by rubbing colour away with a baby wipe...
 
 
After that I used the purple from set 2 to add some colour to some of the circles and then a white posca pen to add some details.
Next I used the sunset stencil with black paint and the cracked glass with white paint for some more pattern...


Then I used the new number background stamp and the XL script stamp with black archival ink, and  the bubble wrap backdrop with white paint (I made sure I cleaned my stamp thoroughly straight after!).  I wanted to create lots of layers and interest in my background, and just really added until I was happy...
 
 
I still required more so used an old plastic card with white gesso to add some lines to the background and also added some black distress crayon (set 3) around the edges to create a frame.
 
Then I needed to create my focal images.  I used the Da Vinci Wings, the Feather Wings and one of the keys, stamping them in black Versafine then using clear embossing powder over the top before cutting them all out.  I used a selection of the distress crayons to colour them, adding a little bit of water to blend the colours out.  To add a bit of extra detail I used gold gilding wax on all the pieces, and also added some to the crackled areas of the background...
 
 
Once I had stuck the pieces where I wanted on the pages they seemed to blend into the background too much, so I used a black Pitt Pen around the edges, blending it with my finger as I went.
Finally I chose a sentiment that matched my pages and what I wanted it to express.  This was stamped and each word cut out by hand before adding colour with the crayons.  Once stuck down I again added the black pen to highlight the words.
 
Once this was all done I finished off the page by adding some white dot highlights.
 
To create my journal pages I used the following products:
 
* Backdrop Stamp - XL Script
* Backdrop Stamp - Numbers
 
I hope you have enjoyed seeing my something a bit different, and I am planning to try to keep on with my art journaling now I have got started!!
 
Happy crafting,
 
Jane xx


Saturday 9 December 2017

Inspired by Banksy samples for Bee Crafty

Hello!

Today on the Buzzy Goings on at Bee Crafty Blog I am sharing my MDF samples that I made for the HOCHANDA shows yesterday...


This project was made using the new key hole door hanger with some of the MDF cogs.  It was painted with metallic paints and the numbers embossed with gold powder.

 
Here I used the classic shaped door hanger with the XL girl with club embossed with silver powder.  Star D'inkables and number backdrop were used for the background and MDF cogs added.


This was an MDF art board with a coloured acrylic paint background.  A selection of backdrop stamps and D'inkables were used for pattern and texture paste added through both sizes of the Act of Kindness inkable template.


This background was created using texture paste through a brick template, then watered down acrylic paint was dripped from the top in rainbow order.  The alphabet backdrop was added in grey archival ink.  The graffiti stamp was embossed onto heat resistant acetate and added to the wall.  Finally the dog was stamped, cut out and stuck next to wall.

These were a mix of the new door hangers and the different art boards.  They are great for using with a mixture of different mediums and I had great fun creating with them.

The products used were...

* MDF Art Boards
* MDF Cogs
* Set of Backdrops - Textures
* Backdrops - Numbers
* Backdrops - Alphabet
* Inspired by Banksy - Boy with Dog XL
* Inspired by Banksy - Girl with Club XL
* Inspired by Banksy - Greatness Words XL
* Inspired by Banksy - Graffiti Area XL
* Inkable - Act of Kindness
* Selection of D'inkables

Hopefully you were able to see the shows, or else they will be available on rewind on the HOCHANDA website for a couple of weeks.

Happy crafting,

Jane xx

Saturday 2 December 2017

A Rusty Heart for Bee Crafty

Hello!

It is my turn to share a project on the Buzzy Goings on at Bee Crafty Blog today and I really wanted to share my favourite sample that I made for the Fleur and Freddie shows this week on HOCHANDA...


I wanted to create something a bit different with one of the MDF hearts so decided to go for a more grungy, rusty look. 

First I added my stencilling using structure paste through the Love Inkable and also some on the base using the regular dots d'inkable.
Then I added some sand paste to areas around the edge of the heart to give a rusty texture.
When this was all dried I added colour using acrylic paints.  Metallic silver and grey were used for the metal look, then shades of yellow and brown were used to create the rust colours...


Fleur and Freddie Entwined were stamped and cut out before being coloured using alcohol markers.
I also cut out the heart balloons that came with them, but reattached them in a different way using some rusty wire...


I used the following products that are available in the Bee Crafty online shop via the links...

* MDF Heart
* Fleur and Freddie - Entwined
* Love Inkable
* Regular Dots D'Inkable

Sam's shows from this week will be available on rewind on the HOCHANDA page for a couple of weeks so if you didn't get to see them they are well worth a look for the demos and ideas!

Thanks for looking and happy crafting,

Jane xx

Friday 1 December 2017

Creative Artiste: Tranquil Journal Page

Hello again!!

It doesn't often happen that I have two posts on one day on my blog but this month the first day of the month is also the first Friday so it is the launch of a new challenge at Creative Artiste as well!!


Over on the Creative Artiste blog today you can find details of the winners from last month and also information about the rules and how to enter, click HERE to go straight over.

http://papertoleaustralia.com/

This month our prize sponsor is the fabulous Scrapmatts, and I have used a number of their products to create my design team project, which this month is a journal page...


I used a Scrapmatts circle stencil to add some texture to the page to start, then once that was dried added my Scrapmatt chipboard pieces...
 
 
Lindys Gang sprays were used to add colour to the page, I used a selection of blues, greens and bronzes, then added some antique gold gilding wax to the raised areas...
 
 
Next some stamping was added using the Bee Crafty XL script stamp and sepia ink.  Then I stamped out some Bee Crafty butterflies using the same ink and then cut them out and coloured them in to match the colours of the page...
 
 
The final touch was some sentiments from 7 Dots Studio.
 
Thank you for looking and do please go on over to the Creative Artiste challenge blog and have a look at the other design team projects.
 
Happy crafting,
 
Jane xx


Altered Eclectics: Rusty Book Box

Hello!

Well we have reached another new month and that must mean a new challenge over at Altered Eclectics, please click HERE to go over for a read of the rules and to see all the design team projects.

This month I had bought a lovely book box from That Craft Place, and I wanted to create a really rusty looking cover with lots of texture...


After putting the box together it was totally coated with gesso to give it a good base for all the mediums I wanted to use.  Then I started to apply the base texture using structure paste through a circuit stencil from That Craft Place, crackle paste and sand paste both from Decoart.  I also added a bit to some MDF pocket watch shapes...


Once all of this was thoroughly dried I started to apply colour using Decoart Media line paints.  I used a combination of metallic silver, paynes grey, burnt umber and quinacridone gold until I was happy that I had a metallic and rusty look...


To give a slight patina look I added a touch of patina gilding wax from Cosmic Shimmer, but kept this to a minimum as I really wanted an old look that was not too shiny.
I first decided where I wanted the pocket watch pieces to go then added a selection of metal embellishments from my stash, I used glue gel to make sure they stuck down well...


I then added extra texture using micro beads in copper and bronze.  Next I chose a quote that I liked from Tim Holtz's small talk stickers, which was coloured with a bit of distress ink before adding to the cover...

I am looking forward to decorating some ATC's to go into my box soon, but I hope that my project has inspired you to have a go at entering our challenge this month, the link is at the top of this post!

Happy crafting,

Jane xx


Monday 27 November 2017

Sparkly Tree for Tando Creative

Hello!

This week the theme for our projects on the Tando Creative blog is Sparkle!  So I wanted everything on my project to be sparkly and as it is almost December there could only be one theme...Christmas!


I love everything to do with snowflakes at Christmas so decided to decorate my Christmas tree mini printer tray with that theme in mind.
I started by painting all the main tray pieces using sparkle paints in shades of blue and then used the darker shade with the mini snowflakes stencil on the back piece.  Then I stuck them all together using an acrylic wet glue.  Once dry I spritzed it with the Decoart white shimmer spray...


To create the snow drifts I added some white puffy paint to the corners and sprinkled on glamour dust.  The snowflakes and stars (which were from the middle of the larger snowflakes) were painted with a pearl sparkle paint then some clear drying glue and iridescent glitter was added.  The gem centres were found in my crafty stash, and I couldn't resist adding them for just that little bit more bling...


Finally I used a sentiment from Bee Crafty to stamp and add to the middle section of the tree...


Here are the links to some of the products used...

* Christmas Tree Mini Printer Tray
* Snowflake Minis
* Decoart White Shimmer Spray

Thank you for looking and happy crafting,

Jane xx

Saturday 25 November 2017

Brusho Butterflies for Bee Crafty

Hello!

It is my turn today on the Buzzy Goings on at Bee Crafty blog, and I hope you have had a chance to take advantage of the great Black Friday prices over on the website!

Today I am slightly cheating as I have felt unwell this week so am posting a card that I made a while ago but have never shared on a blog...


I love brushos but must admit that they do tend to sit in their box on a shelf quite a lot, but every now and again I do remember them!  For this card I wanted a rainbow theme so sprinkled some of the colours with that idea in mind.  I focussed on the heaviest area of colour being on the left, then used water to spread the colour but tried to be quite controlled...


I stamped the butterfly out 7 times using Versafine and clear embossing powder.  I do tend to clear emboss my stamping as I don't always know exactly what I will be using to colour my images, but if they are sealed with the powder then it doesn't matter.  Once the butterflies were cut out and coloured I went over the top of them with a clear sparkle pen...


After the sentiment had been stamped onto the card I matted it onto black then placed onto a card blank.  Finally the butterflies were stuck into place.

To make this card I used the following products from Bee Crafty...

* Winged Things - Butterflies Set 1
* Wordage Stamps - Wake Wonderful
* Brusho Powders

Thank you for looking and have a lovely weekend.

Happy Crafting,

Jane xx


Saturday 18 November 2017

Wizard of Oz for Bee Crafty

Hello!

Today on the Buzzy Goings on at Bee Crafty Blog I thought I would share my samples from the Inspired by the Wonderful Wizard of Oz collection as brought to you by Bev on HOCHANDA this week...


For this art board I used one of the d'inkables with structure paste plus some of the texture stamps to create pattern in the background.  The yellow brick road can easily be extended so for this I used 3 pieces and matched up the bricks to create a longer path.  All the characters were coated with glossy accents to make them stand out even more.


For this diorama card I wanted to create the lion with no colouring, so stamped him onto a lion coloured cardstock with brown ink.  The background was created using distress ink, which I then wiped away through the sunset stencil with a baby wipe.


The line drawings on these stamps are so lovely that I wanted to show them off on this card by leaving the majority of the stamping black and white.  I also love the combination of black, red and white, so stamped extra of the poppies to build a couple of them up then coloured them in red.  This was my favourite sample in the end!


With this card I wanted to make Dorothy a bit different so coloured her hair blonde this time, but that is what I love about stamps, they allow you to do whatever you want!  The background was again created using distress inks and a variety of the d'inkables and texture stamps.


My final sample is another art board, this time one of the little ones.  I wanted to show how you can cut down the sentiments if you only want a part (one of my favourite things to do), so chose the bits I wanted and coloured them with a brushing of distress ink.

The products I used were...

* MDF Art Boards
* Inspired by The Wonderful Wizard of Oz stamps
* D'inkables stencils
* Texture Stamps

Thank you for looking, and if you want to see any of Bev's demos they should still be available on the HOCHANDA website for a while longer as part of rewind.

Happy crafting,

Jane xx