Saturday 30 January 2021

Cone Flower Wood Block

  Hello!

This week I thought I would share a project that although it took a while to make was a really simple idea that I haven't done step by step photos for as it is mostly self explanatory...

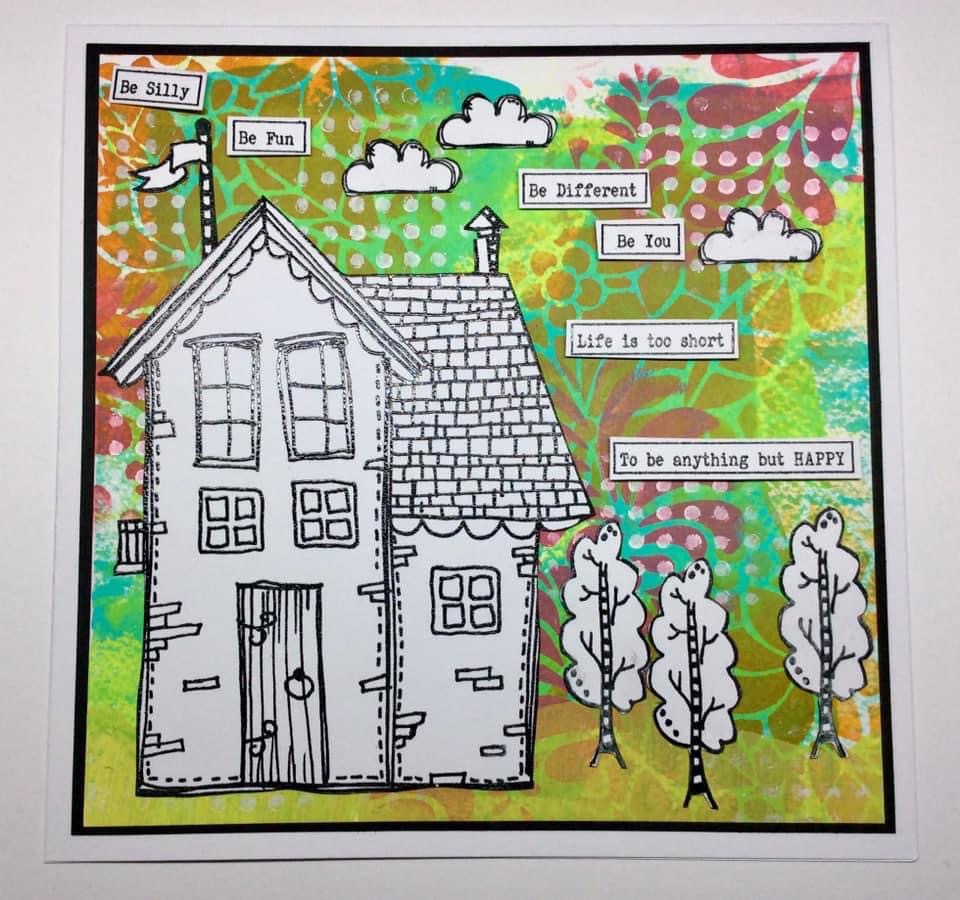
I have a number of objects in my crafty stash ready for decorating and altering, so decided to use this wooden block house for this project.

First I painted the block with the Dina Wakley black gesso.

Next I stamped out a number of my cone flower stamps and the smaller accessory stamps using black archival ink onto the distress watercolour cardstock.

After cutting them out I coloured them all using the Ecoline brush pens and blending with my water brush.  When that was dry I added highlights with a white posca pen.

Finally after sticking them in place with glue gel I also added two of the sentiments from the stamp sets...


Here are links to the products used:


Thank you for looking and happy crafting!

Jane xx


Saturday 23 January 2021

Happy Birthday Flower Card

  Hello!

This week I thought I would make a card that used the least amount of 3D layers possible but still had a layered look!


1) I used a piece of watercolour card that measured 5 and a quarter inches square, then sprayed some Picked Raspberry distress oxide spray onto a block and added it to one corner of the card...


2) After I had made sure the first layer was dry I did the same again on a smaller block using the Wild Honey distress oxide spray...


3) Next I took the circles d'inkable and the Peacock Feathers distress inkpad and stenciled using a foam blending tool.  I also added a little bit more of the ink around three of the corners...


4) To create my focal image I stamped the flower from my 'Just Bloom' set using black Versafine Clair and heat embossed with clear powder.  To create a stalk I used a fine liner black pen then added the leaf from the set...


5) For the sentiment I chose one from the Everyday Sentiments 2 set (regular) and stamped directly onto the card in the same way as the flower...


6) To help the flower to stand out more from the background, I used Ecoline pens to colour then added white highlights with a posca pen...


7) Finally I added a layer of black card then stuck it all to the front of a 6" card blank...


Here are links to the products used:


Thank you for looking and happy crafting!

Jane xx


Sunday 17 January 2021

Hello Gnome Card

  Hello!

This week I have made a card using the Gnome Home stamp and die sets and I also created a video for the Prickley Pear YouTube channel to show the process...

https://youtu.be/WuvavvEBTnM


* I began by creating a background on watercolour cardstock using distress inks.  I blended different shades of blue and green then sprinkled water over to create a more distressed look.

* Next I stamped out one of the gnome homes, the chimney and a gnome using black archival ink, again onto watercolour cardstock.  The home and chimney were cut out with the matching dies and I fussy cut around the gnome.


* Once these pieces were cut out I used watercolour markers and a water brush to colour them in.

* To create a bit more interest in the background I used the hello sentiment with one of the distress inks to add text along one side.

* The background was then matted onto black card and a 6" x 4" card blank.

* I raised the gnome home up using foam tape then stuck the other pieces down with glue.


* Finally I stamped the sentiment out again, this time in black.  It was cut out and edged with black ink before adding to the card.


If you would like to see the card being created along with other projects using Prickley Pear stamps and dies do please go on over to the YouTube channel...

https://youtu.be/WuvavvEBTnM

Products used in this project can be found on the Prickley Pear website...

https://www.prickleypear.com/

And here are links to the individual products used in this project...

Gnome Homes Clear stamp set - https://www.prickleypear.com/gnome-homes-clear-stamp-set/
Gnome Home Die set - https://www.prickleypear.com/gnome-home-die-set/

Thank you for looking and happy crafting!

Jane xx


Saturday 16 January 2021

Doodle House Samples

  Hello!

This week I am sharing the DT samples that I made for this last weeks Hochanda show...


Thank you for looking and happy crafting!

Jane xx


Saturday 9 January 2021

Vintage Butterflies Journal Spread

 Hello!

This week I am sharing a journal spread that I did a while ago but forgot to post!!


For the base of the spread I used washi tape and then added distress crayons over the top, instead of water though I used clear gesso to blend them so they would be more permanent.

Then I added some stenciling and highlighted areas with a white posca pen...


I stamped parts of the wildflower into the background using archival ink, then used clear ink and vintage photo embossing glaze to add the allium stamp.

For my focal points I stamped some of the butterflies onto a coloured background and added them to the page along with a sentiment from ticker tape 1...


Finally I added some white gloss spray splatters.

Here are links to the products used...


Thank you for looking and happy crafting!

Jane xx

Saturday 2 January 2021

Have A Marvellous Day

  Hello and happy new year!

Today I have decided to begin creating some cards ready for 2021 and have started with this vintage style 6" square card...


1) On a piece of watercolour card cut 5 and a half inches square, I started stenciling with the Distressed Diamonds and Tea Dye distress ink...


2) Next I used the Damask stencil with Vintage Photo...


3) Then I added some of the Offset Dots with Black Soot and also blended some around the edges...


4) After I had done all the stenciling I used the Time Measure stamp with black versafine and heat embossed over the top with clear powder...


5) Using some of the brown toned ecoline pens I coloured the main elements...


6) Finally I mounted the card onto black and a 6" card blank.  Then for the finishing element I stamped out the large Everyday Sentiment, edging with distress ink and mounting onto the card with foam...


Here are links to the products used:


Thank you for looking and happy crafting!

Jane xx