Hello again!
Before I start today's post I would just like to say thank you to the IndigoBlu challenge blog team for choosing my butterfly as one of the top 3! I am really pleased and am displaying my blog badge with pride!!
Now on to today's creation...
Having shown you a very pretty and feminine tag on Wednesday, I thought that it would be fun to create a matching but opposite tag for today.
This project is being entered into the following challenges...
*
A Vintage Journey - Vintage Travel & Luggage with a Tim Holtz influence
*
Fantasy Stampers - All About The Boy
*
Artistic Stamper Creative Team Blog - Anything Goes
As always here are some of the main items that I planned to use...
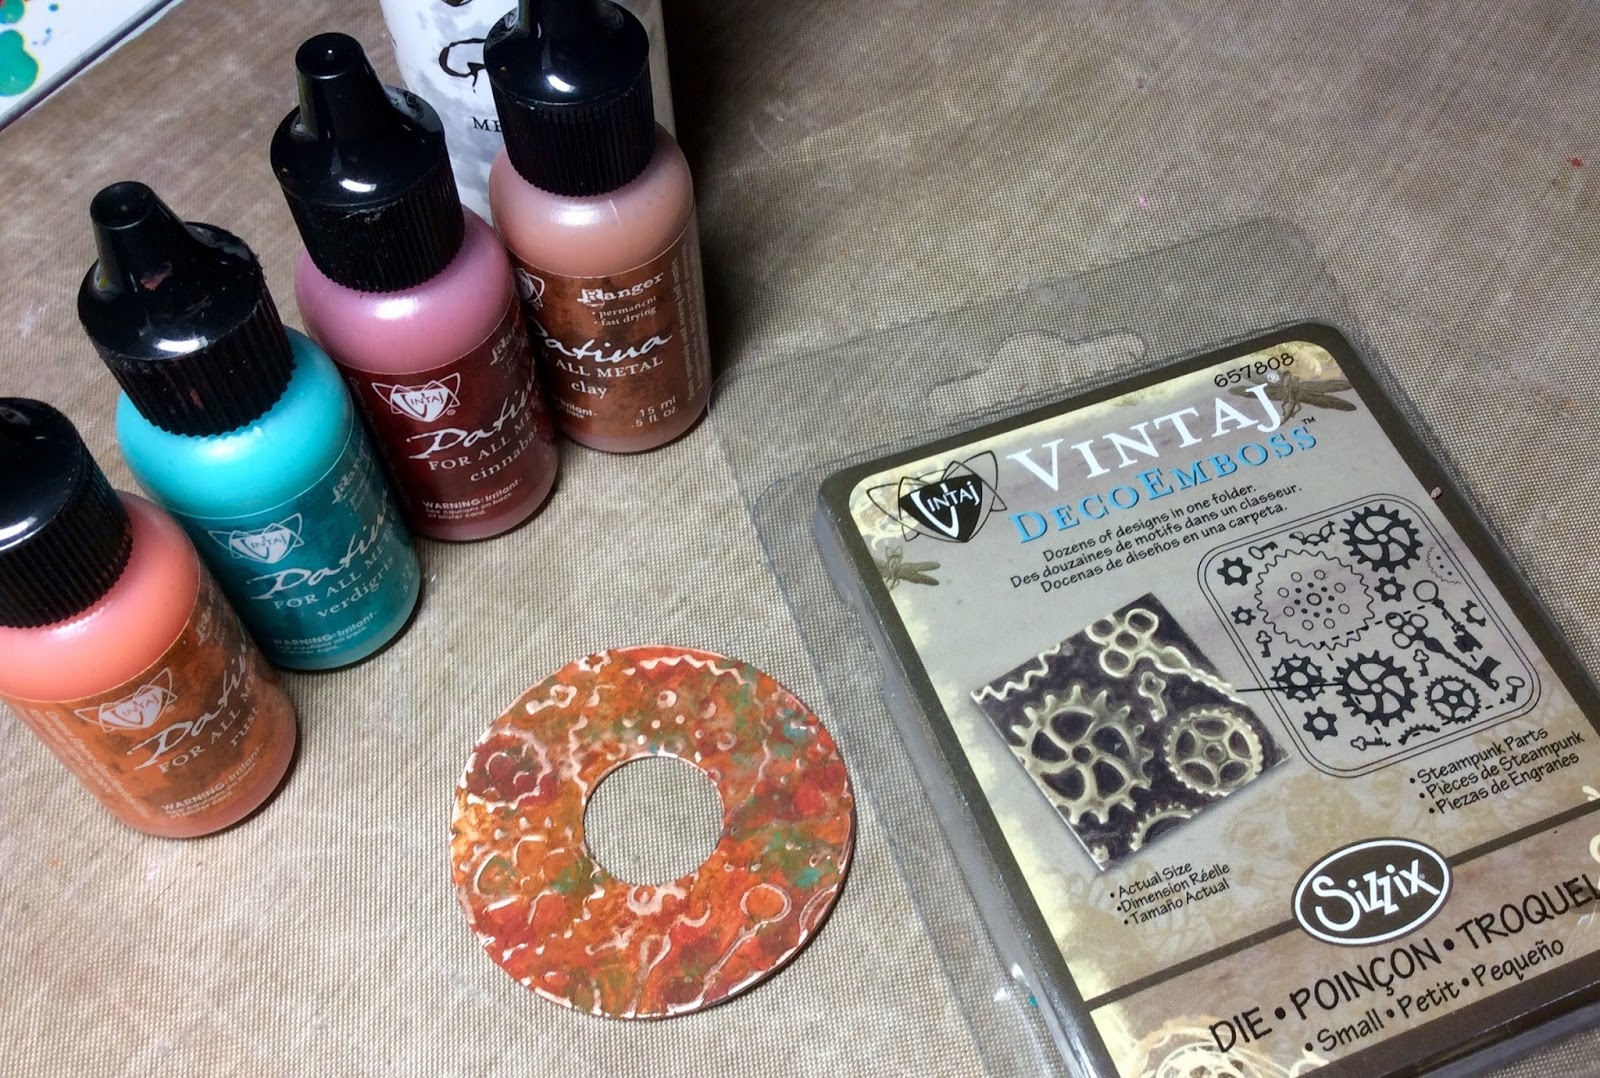
For this project I went about things a bit differently to usual. I normally begin by creating my background then work forwards, so to speak. However this time I really wanted to use some of my more unused craft stash to make an embellishment. I was going to use the melt pot but didn't have quite the right items for what I wanted to make so instead I got out my Vintaj paints and metal embossing folder from Ranger. After running a metal disc through the cog folder I used 4 different paints and the sealer to create the look I wanted and sanded back the raised areas with the special block...
I also had a circle embellishment that came with my MDF tags (Anna Marie Designs) which I cut up, painted with Vintage Photo distress paint then embossed with aged taupe embossing enamel from Stampendous. Some of the powder was also added to the metal embellishment for a more aged look and finished off with some patina gilding wax...
After this I created the background paper to stick onto the tag.
I used a technique that Tim Holtz shows in one of his tutorial videos when using distress inks but added a couple of extra steps.
I started by using my Prima Mechanica mask through my die cutting machine to create a pattern on a piece of A4 cardstock. Then I crumpled it up (it felt very wrong!), opening it out and crumpling again a couple of times. When I was happy with It, I opened it out and swiped my Vintage Photo distress ink pad directly onto the card, as well as highlighting the peaks from the crumpling it also accentuated some of the cogs. Using a spritzer I sprayed water over the paper and allowed it to react. I wanted a bit more colour for my background so I also used Vintage Photo and Antique Bronze distress stain sprays over the card. When it was how I wanted I used my craft iron to flatten it back out, here is how it looked close up...
I wanted even more interest in the background so stencilled with the Mechanica using Vintage Photo. Using a craft knife, the card was then cut to size and the tag prepared by painting with black gesso...
Once I had stuck the paper down and used a gold gilding pen around the edges, I stencilled through a TCW stencil (Cogs and Gears) using Versamark in a number of places and heat embossed using the aged taupe again. Then I used a TCW reverse chicken wire stencil to add some more detail with Decadent Oak sparkle paste from Cosmic Shimmer...
Now it was time to create the focal points! I always add words of some sort to my projects and this time I changed my mind from the original quote that was in the first photo! I wasn't sure how I wanted my stamps to look and whether I wanted my main image coloured or not, so in the end I decided that I would try a few different styles and choose. However I only ended up trying one as I was happy with how it looked.
I created a background cardstock for the stamps using the same distress stains from before as well as some Shabby Turbine Teal spray ink (Lindy's Stamp Gang), followed by some subtle stencilling using vintage photo and the same TCW cogs. Once it had all been thoroughly dried I stamped a vintage car from Stamps Away (Pilkington Transport 4) using pewter embossing powder, as well as 2 sentiments from the Inkylicious 'Dream' set. They were then cut out using oval dies and the largest Italian Circle die from Sue Wilson. Vintage Photo was used again to ink around the edges of each die cut...
It was then a case of putting all the pieces together. So after playing around with the layout I stuck all the pieces down using Pinflair glue gel to give them dimension...
This was going to be the end but I felt that it still needed something extra so I used some of my favourite finishing touch products...micro beads and glass beads in 3D matte gel.
Finally I added some rustic looking string to hang the tag with and here is the final project...
Another fun project to make. I do love being able to use such amazing products to make so many layers and textures! I already have lots of ideas in my head for upcoming projects...
I hope you enjoyed seeing the process.
Until next time, happy crafting,
Jane x


No comments:
Post a Comment