I hope you are keeping well and staying away from any foul weather. Yesterday was lovely but we have had quite a bit of rain and wind, which is perfect crafting weather!!
As it is a fun Friday I have used this week to try a new technique. When I say new I mean that it is one I haven't done before but I know it has been around a while. The technique is using shaving foam to create a marbled background effect (not as messy as it sounds!).
I will be entering this project into the following challenges...
* More Mixed Media Challenge - Blue
* Sisterhood of Snarky Stampers - T is for Technique
* That's Crafty Challenge Blog - ATC Challenge
I have made a video of the shaving foam technique but unfortunately can not get it to upload.
Here is how I did it...
* Spray shaving foam (not gel) into a tin/tub etc and smooth out (I use a ruler).
* Place your medium on the foam. I used Dylusions spray inks (London Blue, Calypso Teal and Dirty Martini, plus a gold spray to add shimmer).
* Using a sharp tool (I used a kebab stick) swirl the foam around to create patterns.
* Place your card on top of the foam and press all over to make a print.
* Pull off your card and scrape away the excess foam (again I used a ruler).
I may try to upload the video to Face Book (link at the top on the left) so do feel free to check (can't promise I will get the technical hang of it enough though!!!).
I was able to pull off a number of prints as the pieces of card were small, but I also added more ink at times to create more. Here is how they looked...
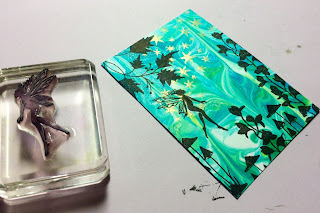
Normally I would now post a picture of everything that I used but today all the items are really in the photos. The stamps that I used were all from Lavinia apart from the sentiment which came from a Finnabair set.
I will give you a brief description of what I did then show you in photos.
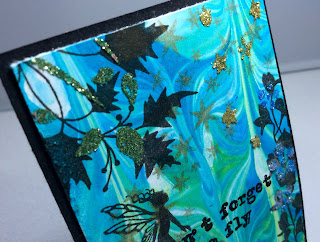
Once I had created the background and cut the piece to size (2 & a half inches by 3 & a half inches) I stamped on my elements using gold and black ink, then stencilled a few areas with sparkle texture paste. The sentiment was stamped in versamark and embossed in black powder. I mounted it on a piece of black card to frame it...
Here is the finished piece...
I hope you enjoyed my fun technique this week! I will be back with a new project to share on Monday. Have a lovely weekend whatever you are doing,
Jane x


No comments:
Post a Comment